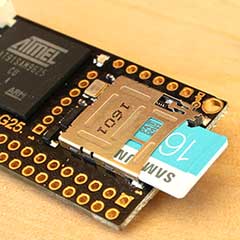
 Insert the micro usb cable to Arietta and to a PC host port. This action will turn on and boot up the board.
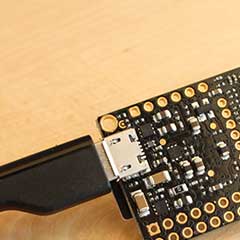 The led on-board will blink after a while to indicate that the Linux Kernel is running.
 ##PC network configuraton
When you plug the Arietta board to your PC USB port it just detects
Arietta as a new lan adapter but some manual setup are
required to have access to the Linux command prompt, web server etc. and
to allow to Arietta to reach Internet using your PC as a gateway.
##PC network configuraton
When you plug the Arietta board to your PC USB port it just detects
Arietta as a new lan adapter but some manual setup are
required to have access to the Linux command prompt, web server etc. and
to allow to Arietta to reach Internet using your PC as a gateway.
 ## Ubuntu Linux
Insert Arietta to the USB port of your PC and check if it has been recognized:
$ lsusb
...
Bus 001 Device 008: ID 0525:a4a2 Netchip Technology, Inc. Linux-USB Ethernet/RNDIS Gadget
...
Check the list of net port available you will find something like this:
$ sudo ifconfig
enx0adeed67240d: flags=4163
## Ubuntu Linux
Insert Arietta to the USB port of your PC and check if it has been recognized:
$ lsusb
...
Bus 001 Device 008: ID 0525:a4a2 Netchip Technology, Inc. Linux-USB Ethernet/RNDIS Gadget
...
Check the list of net port available you will find something like this:
$ sudo ifconfig
enx0adeed67240d: flags=4163enx0adeed67240d will chat any time you will insert the Arietta. To avoid that
create this file:
$ nano /etc/udev/rules.d/70-persistent-net.rules
with this content:
SUBSYSTEM=="net", ACTION=="add", ATTRS{idVendor}=="0525", ATTRS{idProduct}=="a4a2", NAME="arietta0"
detach and insert again the Arietta and type:
$ sudo ifconfig
arietta0: flags=4163arietta0 net port:
$ sudo nmcli con add type ethernet ifname arietta0 con-name usb0-static ip4 192.168.55.1/2
Then try to ping Arietta:
$ ping 192.168.55.2
You could use also the hostname arietta saved on the file /etc/hostname on the Arietta microSD:
$ ping arietta.local
64 bytes from 192.168.55.2 (192.168.55.2): icmp_seq=116 ttl=64 time=0.466 ms
64 bytes from 192.168.55.2 (192.168.55.2): icmp_seq=117 ttl=64 time=0.427 ms
...
Try to open an SSH section with Arietta:
$ ssh root@arietta.local
root@arietta.local's password: acmesystems
Try to open the Arietta web page from your web browser:
*  ## Windows 10
Insert Arietta to the USB port of your PC and check if it has been recognized launching the windows Control Panel:
* Type
## Windows 10
Insert Arietta to the USB port of your PC and check if it has been recognized launching the windows Control Panel:
* Type Control Panel in the search bar and lauch the Control Panel App
* Click on View devices and printers
Here you will find and Icon with the label USB serial adapter COMx
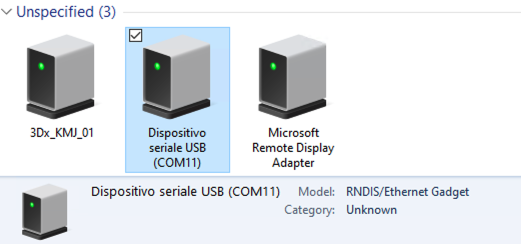 * Right click the mouse on this icon and select
 Properties
* Select the tab Hardware
* Press the button Properties
* Press the button Change settings
* Select the tab Driver
* Press the button Update Driver
* Select the Item Browse my computer for drivers
* Download on your PC this file mod-duo-rndis.zip and unzip it
* Press the Browse... button and select the directory just uncompressed
* Press the Next button
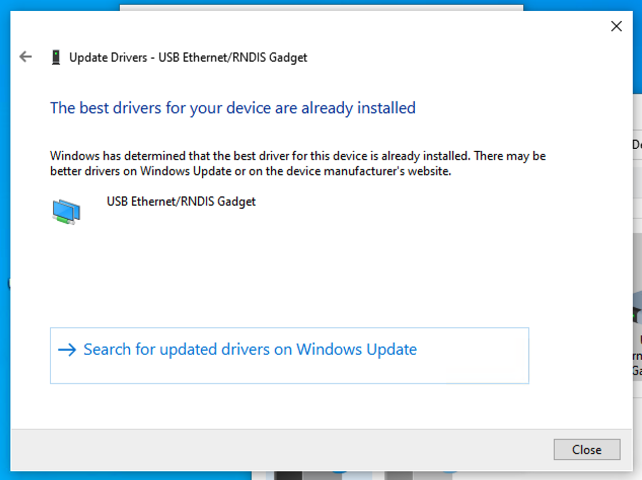 * Press the
 Close button
The old icon will disappear from the Device and Printers windows and a new icon will appear with the label
USB Ethernet/RNDIS Gadget
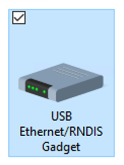 * Right click the mouse on this icon and select
 Network settings
* Select the item Change adapter settingson the right
* Right Click the mouse on the Ethernet icon with the label Ethernet x - USB Ethernet/RNDIS Gadget and select the item Proprties
* Select the item Internet protocol versione 4 (TCP/IPv4) and press the button Properties
* Select the Use the following IP address and insert:
* IP address: 192.168.55.1
* Subnet mask: 255.255.255.0
* Default gateway: (The IP of your LAN gateway)
* Press the OK button
* Press the Close button
Now your Arietta will be contacted using the IP 192.168.55.2 or the Hostname arietta.local
* Try to open the Arietta web page http://arietta.local
* Try to get access the Arietta file system using WinSCP https://winscp.net/
 ## MacOS Monterey
Insert Arietta to the USB port of your MAC and check if it has been recognized:
* Click on the Apple logo on the top left of your screen and select
## MacOS Monterey
Insert Arietta to the USB port of your MAC and check if it has been recognized:
* Click on the Apple logo on the top left of your screen and select System Preferences...
* Click on Network icon
* Click on the RNDIS/Ethernet Gadget item on the left
* On Configure IPv4 field select Manually
* IP Address : 192.168.55.1
* Subnet Mask : 255.255.255.0
* Router : Insert the IP of your LAN router
* Press the Apply button
Open a terminal and type:
ping 192.168.55.2
or
ping arietta.local
Open an SSH session by typing:
ssh root@arietta.local
Open the Arietta web page on Products related
@include='card_arietta'