#How to format a microSD

<div class="row">
	<div class="col-md-2">
		<img src="microsd.jpg" class="img-thumbnail"/>
	</div>
	<div class="col-md-10">
		<div class="text-success lead">
			This tutorial illustrates how to format a microSD cards ready to be used on an Acme Systems Linux boards.
		</div>
	</div>
</div>


##MicroSD card partitioning

Any brand new microSD is usually formatted with an unique big FAT32 partition. In this way
the microSD are usable under Linux just as data storage. If you need to boot and use Linux 
from microSD it needs to be formatted in two partitions. 

* One small FAT32 partition where will
be saved the binary image of the bootloader (in our case at91bootstrap saved in boot.bin) 
and the binary image of the Linux Kernel saved in a file called zImage.
* Another bigger EXT4 partition where to save the whole root filesystems also called rootfs. 

| Order # | Format type	  | Label name | Size    |
|---------|---------------|------------|---------|
|1        | FAT32         | boot       | >64MB   |
|2        | EXT4          | rootfs     | >800MB  |

<br/>
The steps to do to format a brand new microsd are:

* Delete the existing partitions
* Create the two new partitions
* Copy the system file inside the new two partitions

Let's see how to do that using an Ubuntu 15.10 Linux PC.

Insert the microSD in your Linux PC using a microSD card adapter and 
open a new terminal session 
by typing <kbd><kbd>ctrl</kbd> + <kbd>alt</kbd> + <kbd>t</kbd></kbd>.

Type:

<pre class="terminal">
$ <b>dmesg</b>
...
[13736.699438] sd 15:0:0:0: [sdb] 3911680 512-byte logical blocks: (2.00 GB/1.86 GiB)
[13736.700061] sd 15:0:0:0: [sdb] Write Protect is off
[13736.700067] sd 15:0:0:0: [sdb] Mode Sense: 4b 00 00 08
[13736.700072] sd 15:0:0:0: [sdb] Assuming drive cache: write through
[13736.702662] sd 15:0:0:0: [sdb] Assuming drive cache: write through
[13736.702671]  sdb: sdb1
[13736.709301] sd 15:0:0:0: [sdb] Assuming drive cache: write through
[13736.709309] sd 15:0:0:0: [sdb] Attached SCSI removable disk
$
</pre>

This indicates that the unique FAT32 partition of microSD is allocated as <b>/dev/sdb1</b> disk and mounted on 
<b>/media/<disk label></b>.

<div class="alert-danger alert">
<span class="glyphicon glyphicon-exclamation-sign" aria-hidden="true"></span> It is very important 
to understand which is the device allocated for the microSD (in this case /dev/sdb ) 
to avoid to erase your main hard disk (usually /dev/sda).
</div>

##Install GParted

GParted is a graphical utility useful to create partition on any memory support like hard-disk, 
pen drive and SD cards. 

To install it on your PC use this command:

<pre class="terminal">
$ <b>sudo apt-get install gparted</b>
</pre>

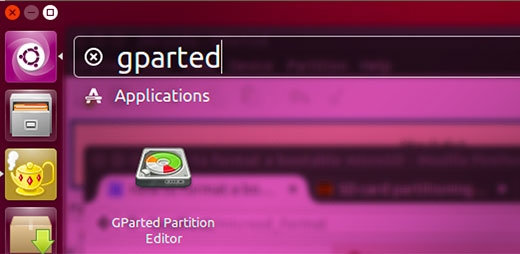
Then launch it from the Ubuntu GUI: 

<img src="./screenshot-launch-gparted.jpg"/>

##Delete the previous formatting

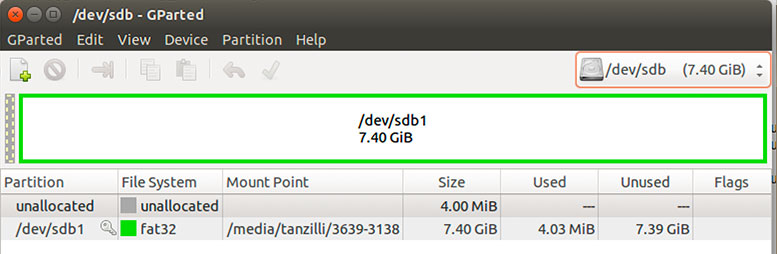
On the top-right side select the disk <b>/dev/sdb</b> checking 
if the size match with the size of your microSD.
<img src="./screenshot-gparted-1.jpg"/>

<div class="alert-danger alert">
<span class="glyphicon glyphicon-exclamation-sign" aria-hidden="true"></span>
Starting from this point the following operations will destroy 
all the data contained on microSD so please be sure that you don't have any 
useful file on your microSD card.
</div>

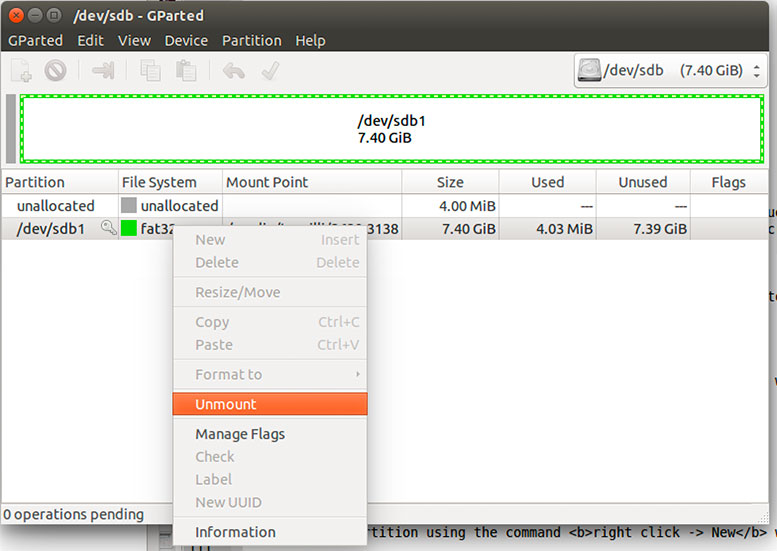
Unmount all the existing partitions (usually just one) using the right mouse click:

<img src="./screenshot-gparted-2.jpg"/>

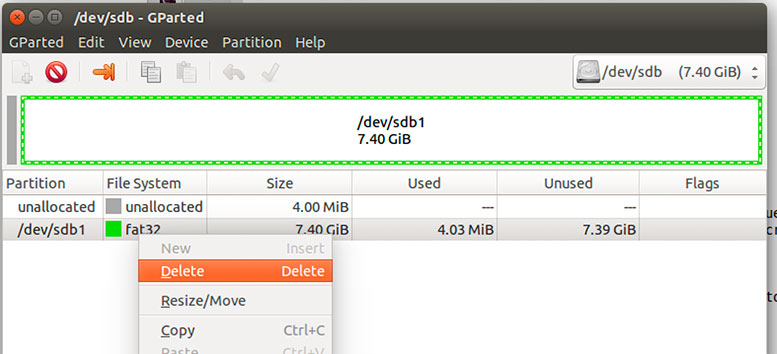
Delete all the existing partitions using the right mouse click:
<img src="./screenshot-gparted-3.jpg"/>

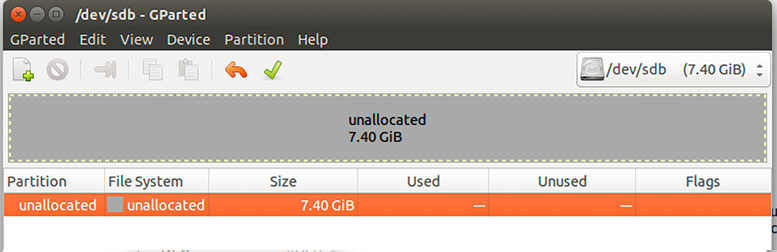
At the end we will obtain an unique unallocated space.
<img src="./screenshot-gparted-4.jpg"/>

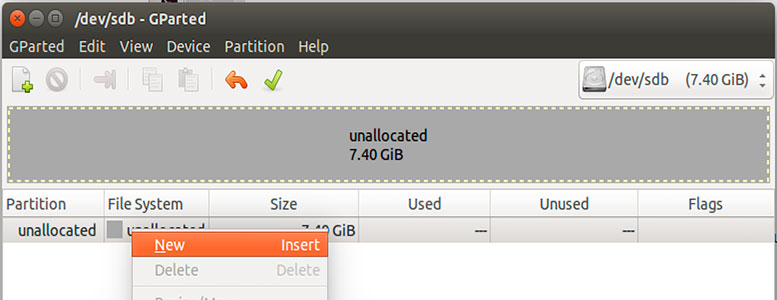
Right click on it and create the new two partitions:
<img src="./screenshot-gparted-5.jpg"/>

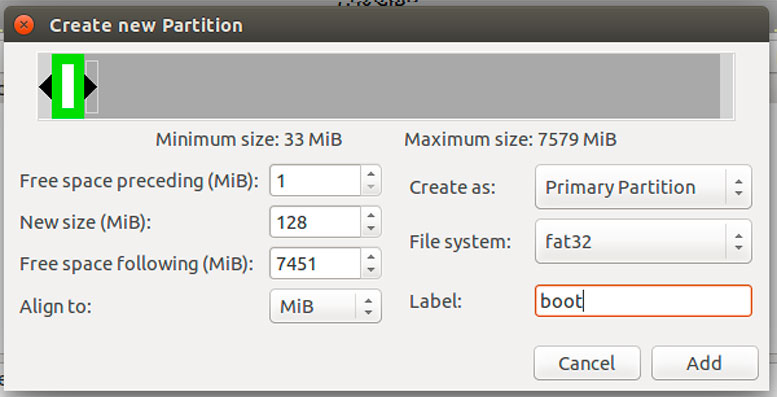
Add the first one (fat32) in this way:
<img src="./screenshot-partition-1.jpg" width="640px"/>

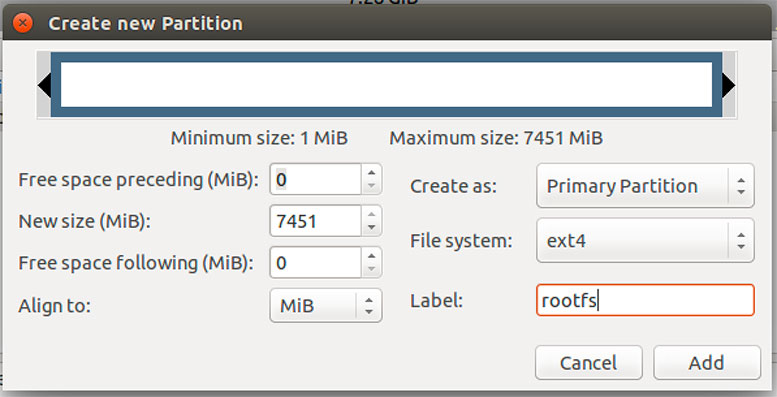
Add the second one (ext4) in this way:
<img src="./screenshot-partition-2.jpg" width="640px"/>

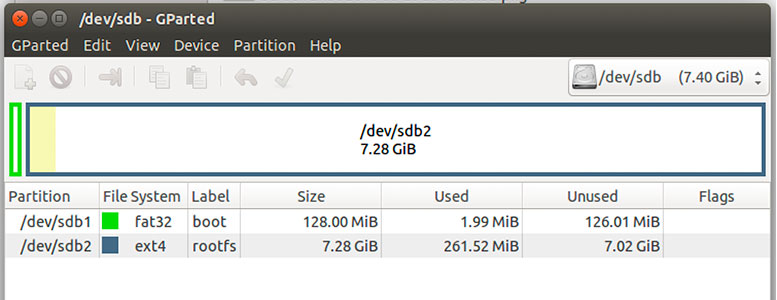
The final result will be this:

<img src="./screenshot-final.jpg"/>

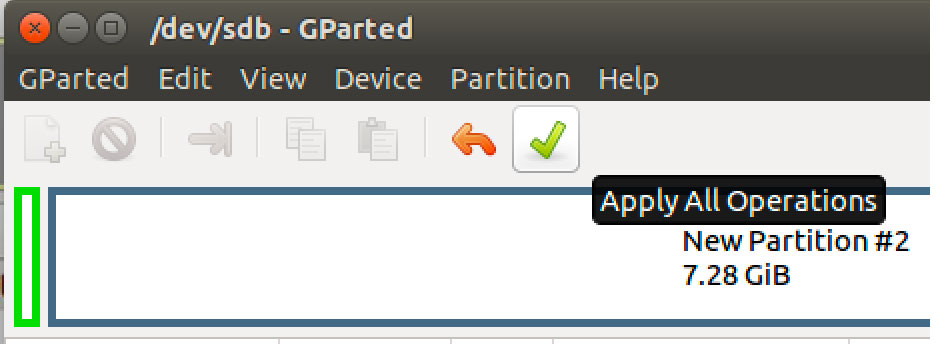
Apply all the changes to the microSD and exit from Gparted:
<img src="./screenshot-apply.jpg" width="560px"/>

Remove now the microSD, wait about 10 sec and insert it again. Two new partitions 
will be mounted automatically on:

* /media/$USER/boot
* /media/$USER/rootfs

Where user $USER will be replaced with your Linux user name.

Now proceed to fill these partitions with the contents required by the Acme board.

<div class='alert alert-warning' markdown="1">
##Suggestions from the users

Some users meet problem to create a bootable microSD following this article. 

Here in Acme we used this procedure without problems on more then 4.000 
bootable microSD using SanDisk, Sony and Samsung memory card. In case of 
problems with different microSD brands please read this article:

* [SDCardBootNotice](http://www.at91.com/linux4sam/bin/view/Linux4SAM/SDCardBootNotice)

These instructions use fdisk to create the partitions, which allows a smaller dead space before the start of the first partition.

Many thanks to __Eric__ for this advice.
<br>
<br>
</div>

@include='catalog_sdcard'

@include='tanzilli'