h10 technical documentation Buy
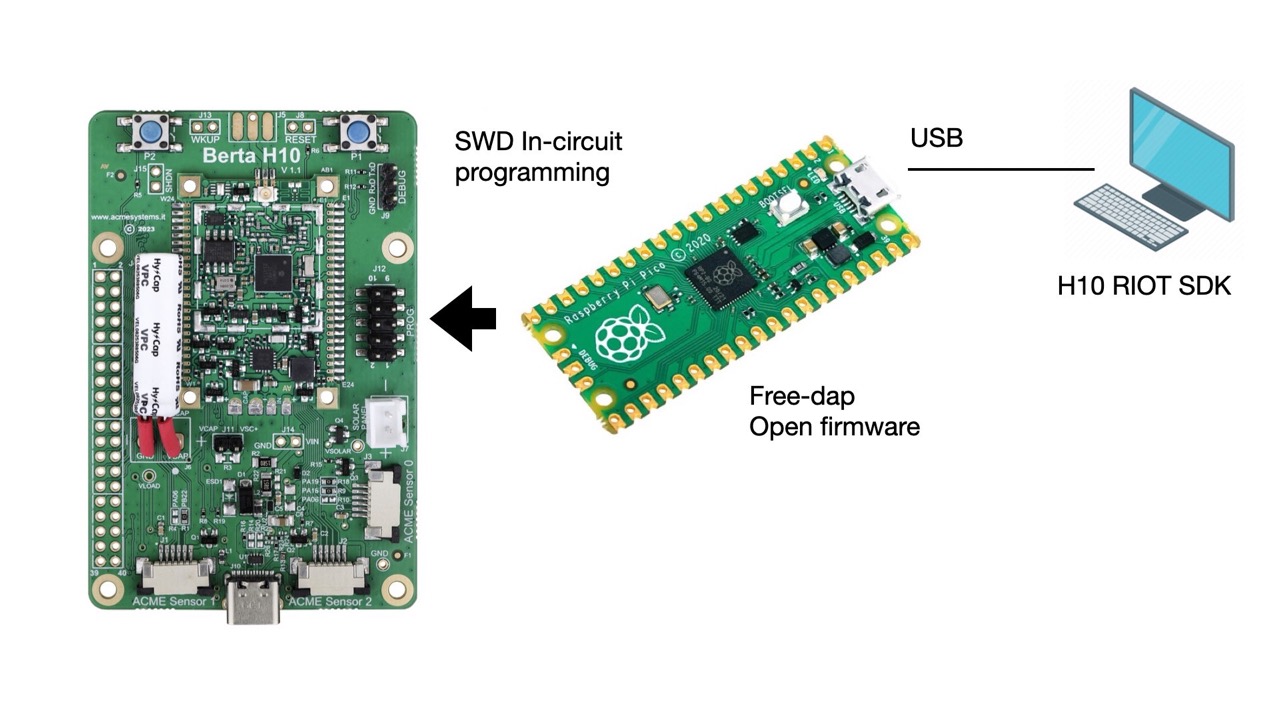
SWD In-circuit programming using a Raspberry Pi Pico RP2040

Free-dap project
Free-dap is a free and open implementation of the CMSIS-DAP debugger firmware available on GitHub:
Using this firmware is enought to wire these signal between the Raspberry Pi Pico RP2040
| RP2040 GPIO | RP2040 pin # | Berta-H10 J12 pin # | Signals |
|---|---|---|---|
| GP15 | 20 | 1 | NRST |
| GP11 | 15 | 7 | SWCLK |
| GP12 | 16 | 9 | SWDIO |
| GND | 18 | 6 | GND |
Programming the Free-dap firmware on RP2040 board
A very easy way to save the firmware on the RP2040 board is using the ready-to-use binary file available on the Free-dap Git repository:
Download this file and save it on your local disk. Plug the microUSB port of the RP2040 to your PC while holdinf down the button BOOTSEL on RP2040 board. A disk called RPI-RP2 will appear on your desktop.
Drag and drop the free_dap_rp2040.uf2 file on this new drive. After a while the RPI-RP2 will disappear from
your desktop and the green led on RP2040 turn-on. Your SWD programmer is now ready-to-use.
You can transfer the H10 firmware by using the command:
make flash

...
### Flashing Target ###
Debugger: Alex Taradov Generic CMSIS-DAP Adapter 3A6B79A7 2.0.0 (SJ)
Clock frequency: 16.0 MHz
Target: SAM R34J18B (Rev C)
Verification.......... done.
Done flashing


