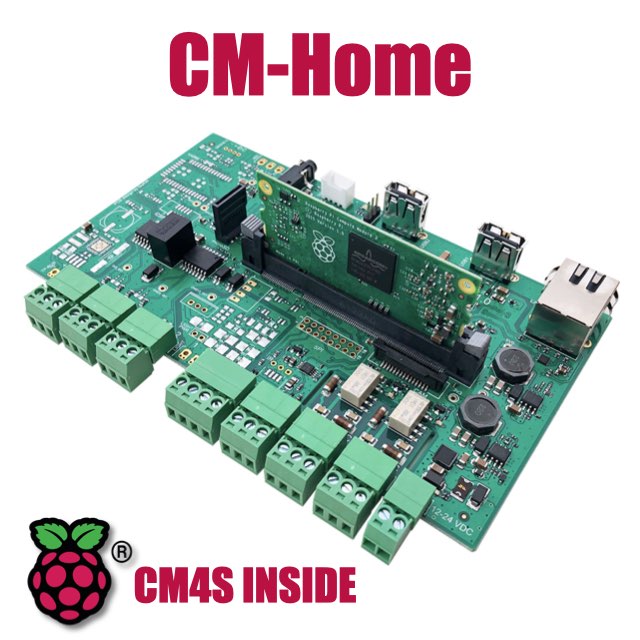
CM Home technical documentation
Camera interface
The CM-Home board features the same camera interface as the standard Raspberry Pi 4. Since the HDMI video interface is not available, this article explains how to use the camera over the network.
The MIPI connector for the Raspberry Pi cam is located in the middle of the board closed to the CM4S socket as shown below:
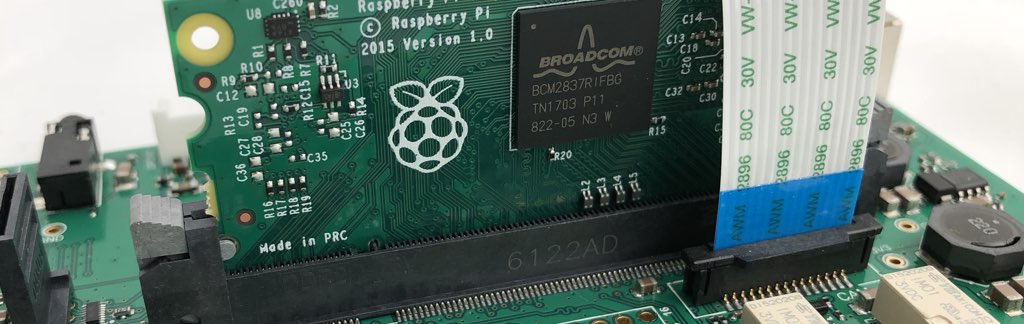
We chose this position for the camera to facilitate its placement on the front panel of the DIN rail case.
Insert the camera connector with the blue band facing towards the relay, then power on the board and access the Linux prompt via an SSH connection.
Make sure that the auto-detect of the camera is disabled in the file /boot/firmware/config.txt.
camera_auto_detect=0
and that these lines are present:
dtparam=cam1_reg_gpio
dtparam=cam1_reg
dtoverlay=cm-swap-i2c0
# Raspberry Pi Camera 2.1
#dtoverlay=imx219,cam1
# Raspberry Pi Camera 1.3
dtoverlay=ov5647,cam1
The last line depends on the model of camera being used.
To check if the camera is visible, type:
$ libcamera-hello --list-cameras

Available cameras
-----------------
0 : ov5647 [2592x1944 10-bit GBRG] (/base/soc/i2c0mux/i2c@1/ov5647@36)
    Modes: 'SGBRG10_CSI2P' : 640x480 [58.92 fps - (16, 0)/2560x1920 crop]
                             1296x972 [43.25 fps - (0, 0)/2592x1944 crop]
                             1920x1080 [30.62 fps - (348, 434)/1928x1080 crop]
                             2592x1944 [15.63 fps - (0, 0)/2592x1944 crop]
Stream the video captured by the camera on port 8080:
$ libcamera-vid -t 0 --inline --listen --nopreview --width 1280 --height 720 -o tcp://0.0.0.0:8080
To view the stream from another Raspberry Pi or a Linux PC:
$ ffplay tcp://cmhome_ip_address:8080
Links
Products related
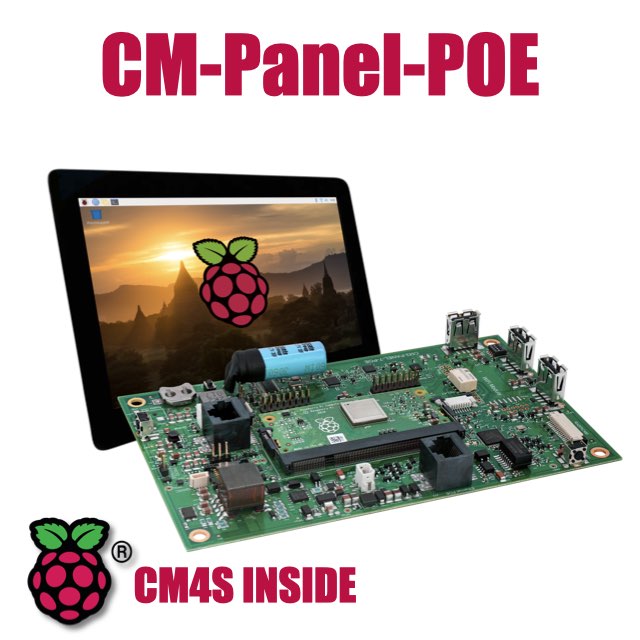
All-in-one 7 inch touch POE terminal powered by Raspberry Pi CM4S
- 7 inch TFT display 800x480 pixel
- Capacitive touch
- Embedded micro UPS for safe shutdown
- Power Over Ethernet @ 10/100 Mbit
- Hi-resolution audio up to 384KHz@32bit
- Real Time Clock with backup battery
- 3 USB Host port
- 1 RS485/422/RS232 port
- 1 Relay
- MIPI Camera connector
- WiFi @ 2.4 GHz (optional)