Compiling Buildroot from scratch
This article was written using a Linux Ubuntu 22.04.2 LTS. It is advisable to use an USB to 3V TTL serial cable or a DPI interface to have access to the debug port.
Install on your Linux PC the requested packages listed here:
Open a command line and download Buildroot from the official web site:
$ wget https://buildroot.org/downloads/buildroot-2024.02.1.tar.gz
$ tar -xvf buildroot-2024.02.1.tar.gz
$ cd buildroot-2024.02.1
Create a git repository:
$ git init ; git add . ; git commit -m "vanilla" ; git branch acme ; git checkout acme
Download the patch for the Acme board you have (just one):
$ wget https://www.acmesystems.it/www/buildroot/acme.patch
Apply the patch:
$ patch -p1 < acme.patch
And set the configuration you need:
$ make foxd27_defconfig
The available configurations are:
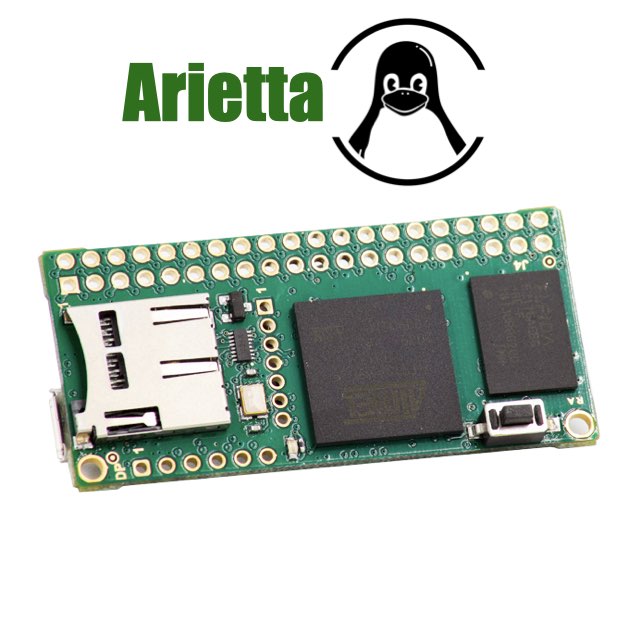
- arietta_defconfig
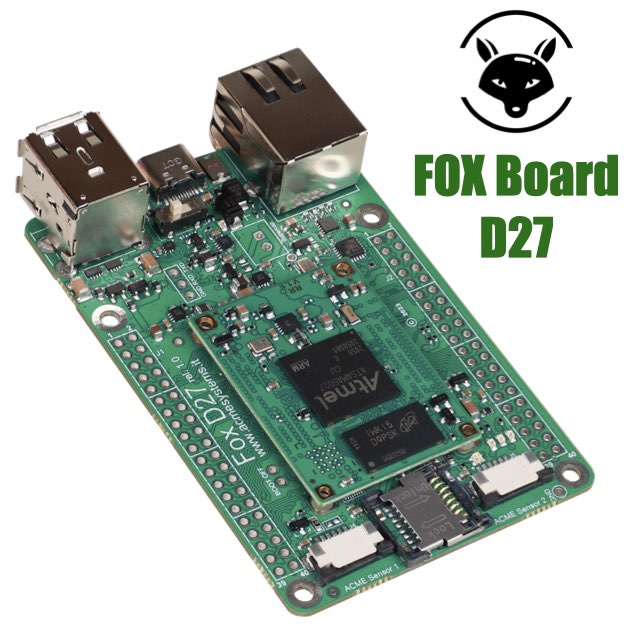
- foxd27_defconfig
- foxd27-h10cu_defconfig
- foxd27-bot_defconfig
Launch the compilation:
$ make
This operation will take about 1 hour to download and compile any sources.
If all went well you will obtain this file in output/images directory:
sdcard.img
Install new packages
To install new packages from the menuconfig menu type:
$ make menuconfig
Then repeat the procedure to generate the new microSD image from Make command.
Regenerate the target directory
$ rm -rf output/target
$ find output/ -name ".stamp_target_installed" -delete
$ rm -f output/build/host-gcc-final-*/.stamp_host_installed
Change the Linux Kernel configuration
$ make linux-menuconfig
$ make linux-rebuild
$ make
Save the kernel config
$ make linux-savedefconfig
Links
File used:
Download ready-to-use microSD images for your boards
- Arietta
Buildroot 2024.02.1, Kernel 6.1, At91Boostrap 3.10.4, lighttpd, Python3, RNDIS drivers- Fox Board D27
Buildroot 2024.02.1, Kernel 6.1, At91Boostrap 3.10.4, lighttpd, Python3
Make the microSD
Download and install the free tool Balena Etcher available for any platform to write the microSD using the filename.img generated by scratch od downloaded:
Insert the microSD generated in your board and use the debug port to check the boot messages and get the access to the Linux prompt.
!! SECURITY WARNING !!
By default, only the root user is defined, and no password is requested at login, both on the debug port and on SSH access. This is because this image is intended for educational and experimental use only. Don't release your products with this image as is.
Partition resizing
Type this command to check how is partitioned the microSD
$ parted /dev/mmcblk0 --script print

Model: SD SS08G (sd/mmc)
Disk /dev/mmcblk0: 7948MB
Sector size (logical/physical): 512B/512B
Partition Table: msdos
Disk Flags:

Number  Start   End     Size    Type     File system  Flags
 1      512B    16.8MB  16.8MB  primary  fat16        boot, lba
 2      16.8MB  101MB   83.9MB  primary  ext4
To resize the root partition to fill the entire microSD type:
$ parted /dev/mmcblk0 --script resizepart 2 100%
$ resize2fs /dev/mmcblk0p2
Check it again:
$ parted /dev/mmcblk0 --script print

Model: SD SS08G (sd/mmc)
Disk /dev/mmcblk0: 7948MB
Sector size (logical/physical): 512B/512B
Partition Table: msdos
Disk Flags:
Products related

- CPU Microchip AT91SAMG25
- ARM9 @ 400 MHz
- Armel architecture
- DDR2 RAM 128/256 MB
- Size: 53x25 mm
- Plug-in module
- 40 pins 2.54 mm pitch
- Boot from uSD
- Linux Kernel 5.15 LTS
- Debian, Buildroot and Yocto Linux
- Fully open source drivers

- Low power consumption
- Two USB Host 2.0 ports (one configurable as USB client on the USB-C connector)
- One 10/100 Mbit/s Lan port
- 2 Acme Sensor ports
- Huge set of GPIOS, SPI, I2C and serial lines


